Submitted by The Fan Club on

1. Create a new Virtual Machine using Oracle VM VirtualBox
- Download and Install VirtualBox on your computer from http://www.virtualbox.org/wiki/Downloads
- Click on the "New" button at the top of the VirtualBox Manager window. A wizard will pop up to guide you through setting up a new virtual machine (VM):
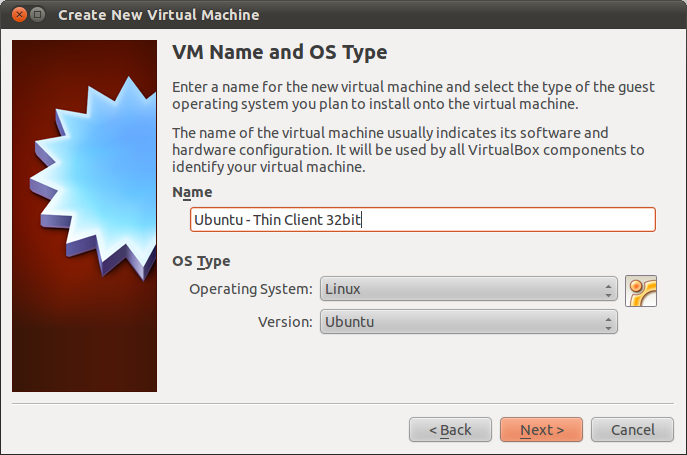
2. Enter a name for your new Virtual Machine Thin Client.
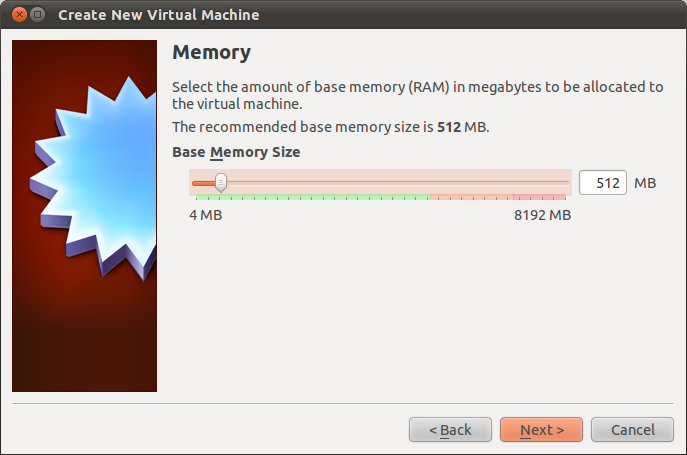
3. Give your New Virtual Machine between 512 MB and 1 GB of RAM.
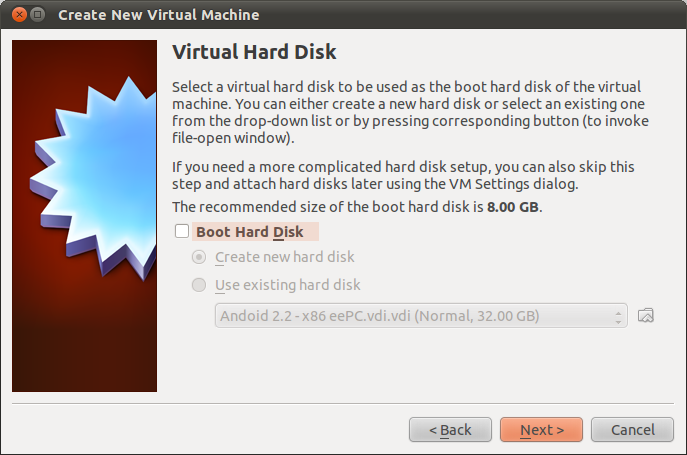
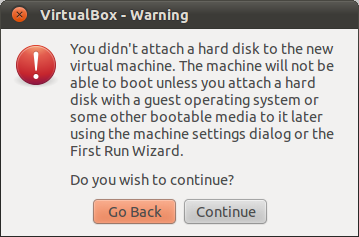
4. De-select the 'Boot Hard Disk' option as the Thin Client will boot over the network.
- Click Next and ignore the Warning Message that follows by clicking Continue, and Finish.
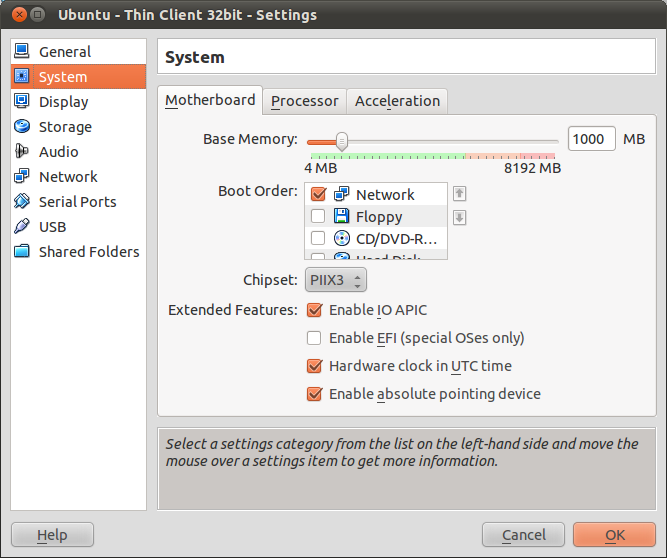
5. Set your VirtualBox Thin Client to PAE boot from the network LTSP server.
- Your VM is now created, but before we can boot the thin client, we need to modify a few things.
- Click on Settings for you new VM and select the system tab on the left.
- Under Boot Order - De-select all other Boot devices except the Network or move it to the top of the Boot Order.
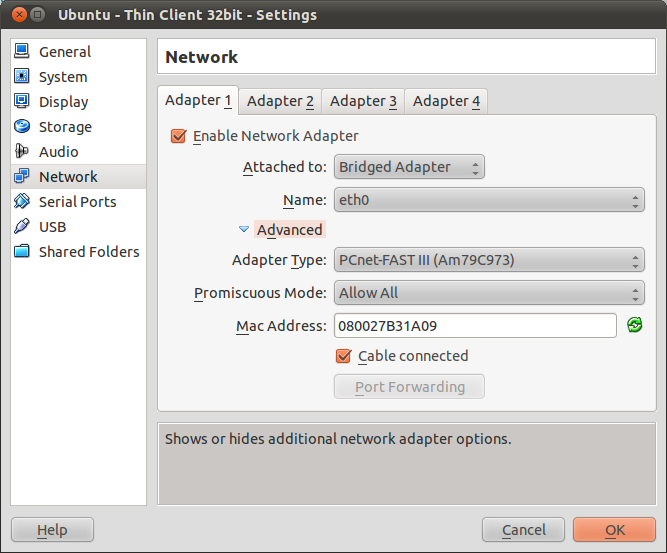
6. Change the network settings of your VirtualBox Thin Client
- Click on Settings for you new VM and select the network tab on the left.
- Modify your network settings as needed.
- IMPORTANT: Select the Advanced settings and make sure you select the PCnet-FAST III (Am79C973) as the adaptor type. This adaptor is PAE boot enabled, the default adaptor not.
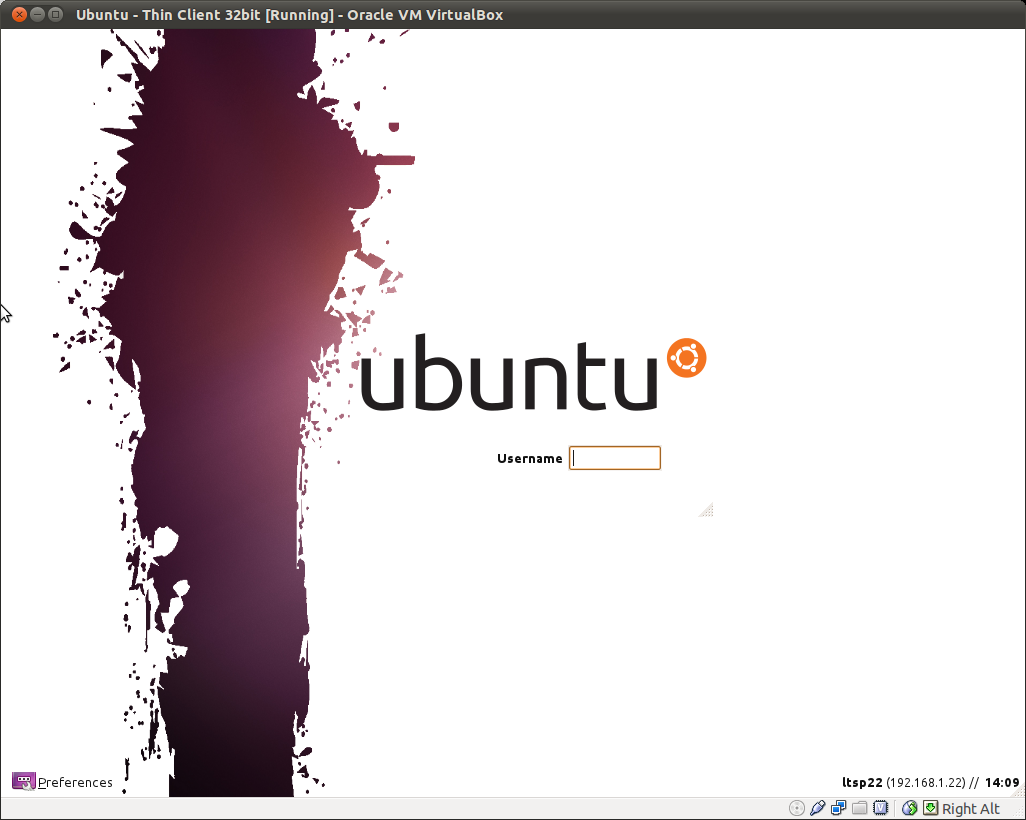
7. Boot you VirtualBox Ubuntu LTSP Thin Client.
- Start you new VM and if you have a running LTSP server configured on your network you should be able to connect and login.
- Examples of the default Ubuntu LDM login screen and Ubuntu 11.04 LTSP server running thin client with Unity 2D below.


Comments
Thank you! I could not figure
Submitted by Dan (not verified) on