Submitted by The Fan Club on

This guide is based on the comprehensive LTSP documentation done by the Ubuntu Community - Ubuntu Community Documentation - UbuntuLTSP
This guide is intended as a relatively easy step by step mostly graphical (GUI) guide to:
- Set up a basic Ubuntu LTSP server on Ubuntu 11.04, 11.10 and 12.04 x64 (64bit)
- Configure Ubuntu 32bit thin- and fat clients with internet access.
- Last updated : 15-04-2012
Requirements:
- Ubuntu 11.04/11.10/12.04 x64 machine with two network adaptors to act as your main LTSP server.
- 1 x Network switch / hub
- 1 x Router with internet connection
- Thin client computer. This can be any network boot enabled machine, or a Virtual machine like VirtualBox. See How to create a VirtualBox Ubuntu LTSP Thin Client.
Setup:
- Connect the Ubuntu 11.04/11.10 x64 machine to the internet on one network adaptor. (in this case a wifi connection to internet)
- Connect the other available network adaptor to a Network switch / hub. (This is where thin clients will connect)
1. Change your available network adaptor IP to a fixed entry.
- Most local network already use the 192.168.0.xx range of IP addresses, but the default install of LTSP relies on this range being available. In this tutorial we will set up the LTSP network on the 192.168.1.xx range.
- You also need a separate network adaptor with internet access during the install process.
- The LTSP server install wants to install it's own DHCP server, so if you have a router with it's own DHCP server it could cause conflicts if in the same network IP range.
- So what to do is change your unused LAN port's IP address to a fixed IP in another IP range. For example my setup has a router with a DHCP server running on 192.168.0.1, and provides the Internet access on the system. I changed my other LAN adaptor's IP to 192.168.1.1 , this will be used for the LTSP network.
- NOTE: For some reason the DHCP server does not want to start correctly on system startup if the network adaptor's IP is not set in the network interfaces config file. (see 1d. below)
1a. Go to Network Connections and select the LAN network adaptor you intend to use for your thin client network and click edit.
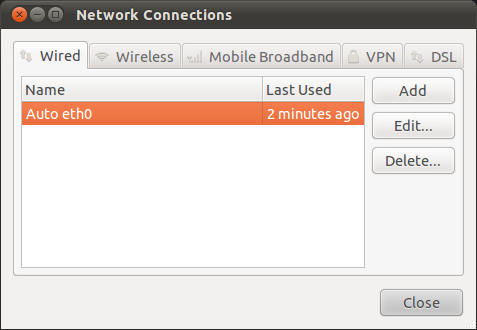
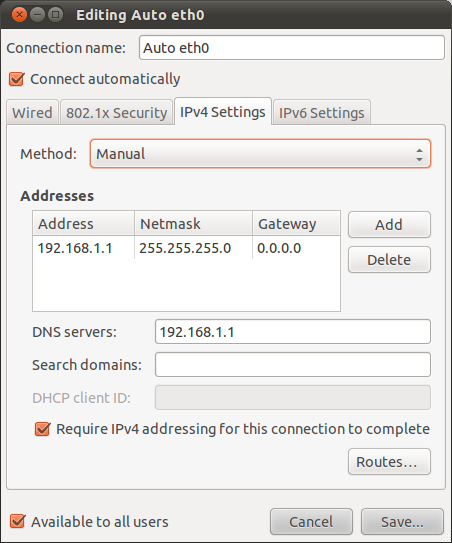
1b. Change your adaptor to use Manual IP and set a new fixed IP for the adaptor and save.
This will be your LTSP server IP.
1c. Set the fixed IP for the network adaptor the classic way to ensure the DHCP server starts correctly.
- Add the information for your network adaptor that you selected in 1c. as shown below.
- We added eth0 with a static IP of 192.168.1.1
- Open the Terminal Window and enter :
sudo gedit /etc/network/interfaces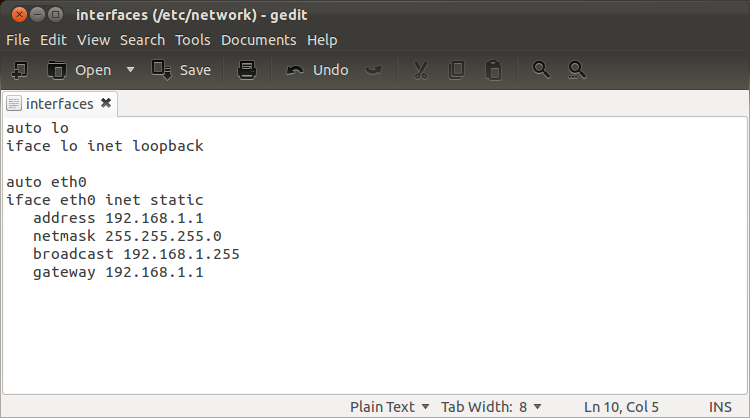
1d. Change the Network Manager config file to allow control of your network adaptor with fixed IP.
- For some mysterious reason if you enter the IP manually in the interfaces file, Network Manager ignores them and you cannot use the Network Manager to control the adaptor any more. So we have to enable it.
- Change the "managed=false" to "managed=true" as seen below.
- Open the Terminal Window and enter :
sudo gedit /etc/NetworkManager/NetworkManager.conf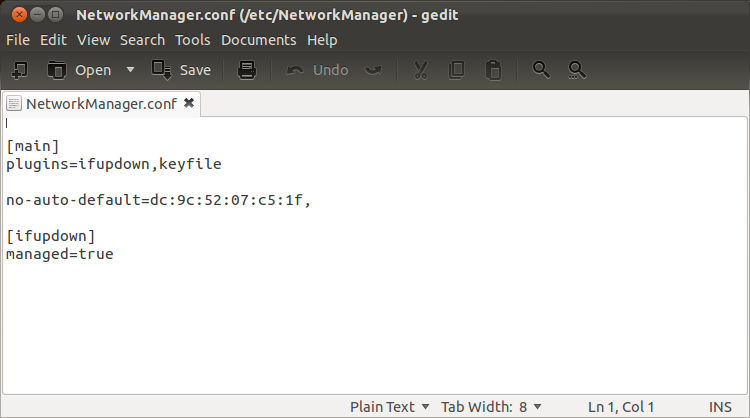
2. Install the LTSP server.
- Open the Terminal Window and enter :
sudo apt-get install ltsp-server-standalone openssh-server
3. Edit the DHCP configuration for your LTSP server to match your chosen IP range.
- In this case 192.168.0.xx changes to 192.168.1.xx.
- Open the Terminal Window and enter :
sudo gedit /etc/ltsp/dhcpd.conf
4. Select the network interface/s for the DHCP server
- Add the network devices you would like the DHCP server to run on. In this case we changed the value of INTERFACES to include eth0
- Open the Terminal Window and enter :
sudo gedit /etc/default/isc-dhcp-server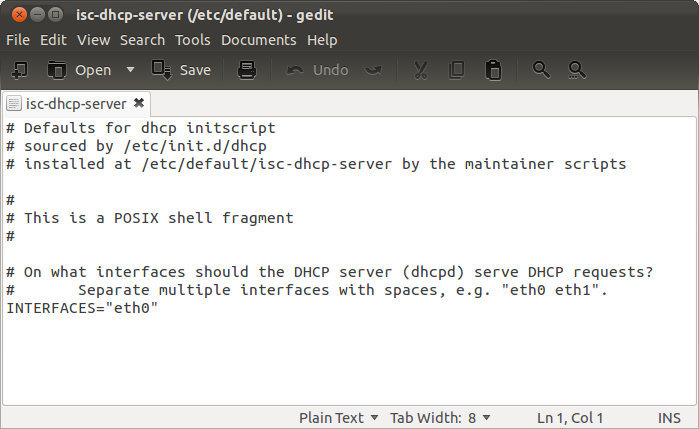
5. Restart the DHCP server
- Open the Terminal Window and enter :
sudo /etc/init.d/isc-dhcp-server restartTip: previous ubuntu versions need to use : sudo /etc/init.d/dhcp3-server restart
6a. Optional step to configure a Fat Client not a Thin Client before build
- This step is only needed if you intend to use your LTSP server for Fat clients, rather than Thin clients or both. For more information between the differences between Thin and Fat clients and configuration see UbuntuLTSPFatClients
- This step edits the LTSP build client configuration file to install Ubuntu desktop and create LTSP Fat client image.
- NOTE: only software installed in the Fat client image will be available to the client, and internet access for each client needs to be configured as the clients will not share the server network connection to the internet as is the case with the thin clients.
- Open the Terminal Window and enter :
sudo gedit /etc/ltsp/ltsp-build-client.conf- Here you can customize your installation image for Fat clients.
- We will only install the standard Ubuntu Desktop system to run on the client side for now. We can install more software to the image later, this is to get a basic Fat client image built.
- Add the following to the file and save.
# ltsp-build-client.conf - many other options available
# The chroot architecture.
ARCH=i386

# ubuntu-desktop and edubuntu-desktop are tested.
# Ubuntu 12.04 LTS working perfectly with Unity and Unity 2D.
FAT_CLIENT_DESKTOPS="ubuntu-desktop"
6b. Optional step to disable NBD compression
- NDB compression is enabled by default in Ubuntu 12.04 to speed up client disk access and boot times, but takes a much longer to generate a compressed image file. During development work is might be easier to disable this feature and re-enable it when the setup of the client image is complete.
- Open the Terminal Window and enter :
sudo gedit /etc/ltsp/ltsp-update-image.conf
- Add NO_COMP="-noF -noD -noI -no-exports" line to disable compression. Enable the compressing by adding the # symbol, or delete the line completely
- Make sure the file now looks like this example below and save.
# Configuration file for ltsp-update-image
# Do not compress the client image. Comment out the line below to enable again.
NO_COMP="-noF -noD -noI -no-exports"
6c. Build the i386 (32bit) LTSP Thin/Fat Client
- This step builds the 32bit Thin Client Ubuntu 11.04 image needed to boot the thin clients on the network.
- This step downloads and installs all the 32bit Ubuntu client elements. Could take a while.
- Open the Terminal Window and enter :
sudo ltsp-build-client --arch i386Tip: to set up 64bit thin clients leave out the '--arch i386' part and enter: sudo ltsp-build-client
7. Reboot your new LTSP server to complete LTSP server install
- At this point your Ubuntu LTSP server should be up and running.
- You should be able to boot a Thin Client via the network.
- You could also set up a Virtual Machine to act as a thin client for testing your server. See: How to create a VirtualBox Ubuntu LTSP Thin Client.
Tip: After reboot make sure that the DHCP is running correctly. Open a Terminal Window and enter:
sudo /etc/init.d/isc-dhcp-server statusTip: If after this point you change your IP address on the LTSP server you need to enter the following :
sudo ltsp-update-sshkeys
sudo ltsp-update-image --arch i3868. Set up Thin Client Admin user
- Replace the adminname with your admin user name.
sudo -s -H
chroot /opt/ltsp/i386
useradd -m adminname -G sudo
passwd adminname
exit
exit
- Lock the admin account's password
sudo chroot /opt/ltsp/i386 passwd -l adminname- Update the client image
sudo ltsp-update-image --arch i3869. Set up a Thin Client User Account
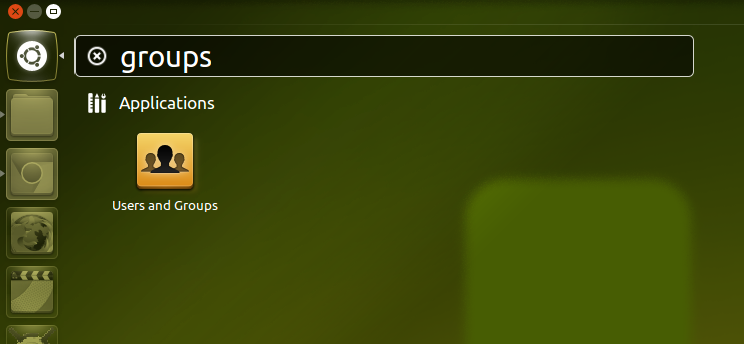
9a. Open Users and Groups
- Make sure you have gnome system tools installed as this has been removed in Ubuntu 12.04.
sudo apt-get install gnome-system-tools- In Ubuntu 12.04 search for Users and Groups under applications after installation.
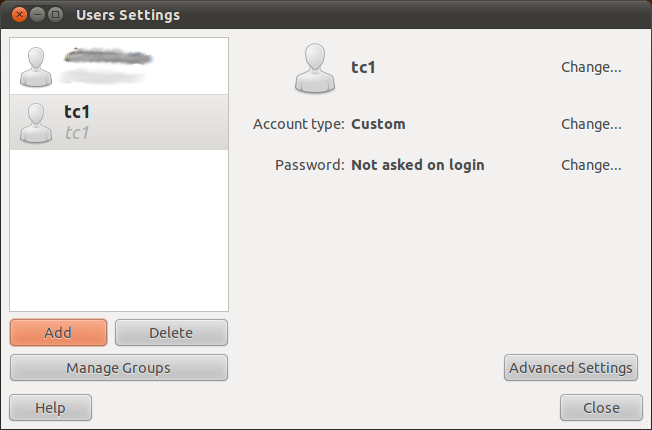
9b. Click Add to add new user account
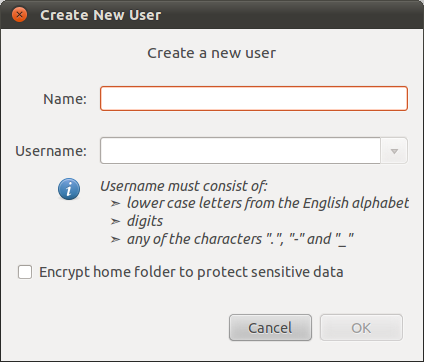
9c. Add new username details
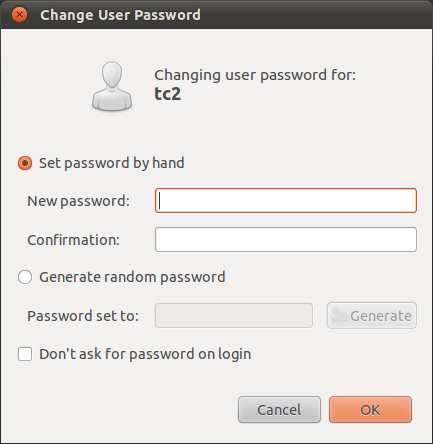
9d. Add new user password
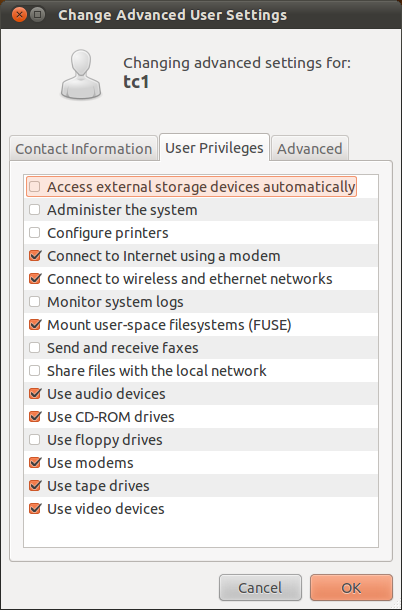
9e. Change User Advanced Settings -> User Privileges
10. Boot your Thin Client from the Ubuntu LTSP server
- Connect your Thin Client computer or Virtual Machine to your LTSP network Switch/Hub.
- Alter the Thin Client Machine BIOS Boot settings to boot from LAN / Network.
- Boot the machine.
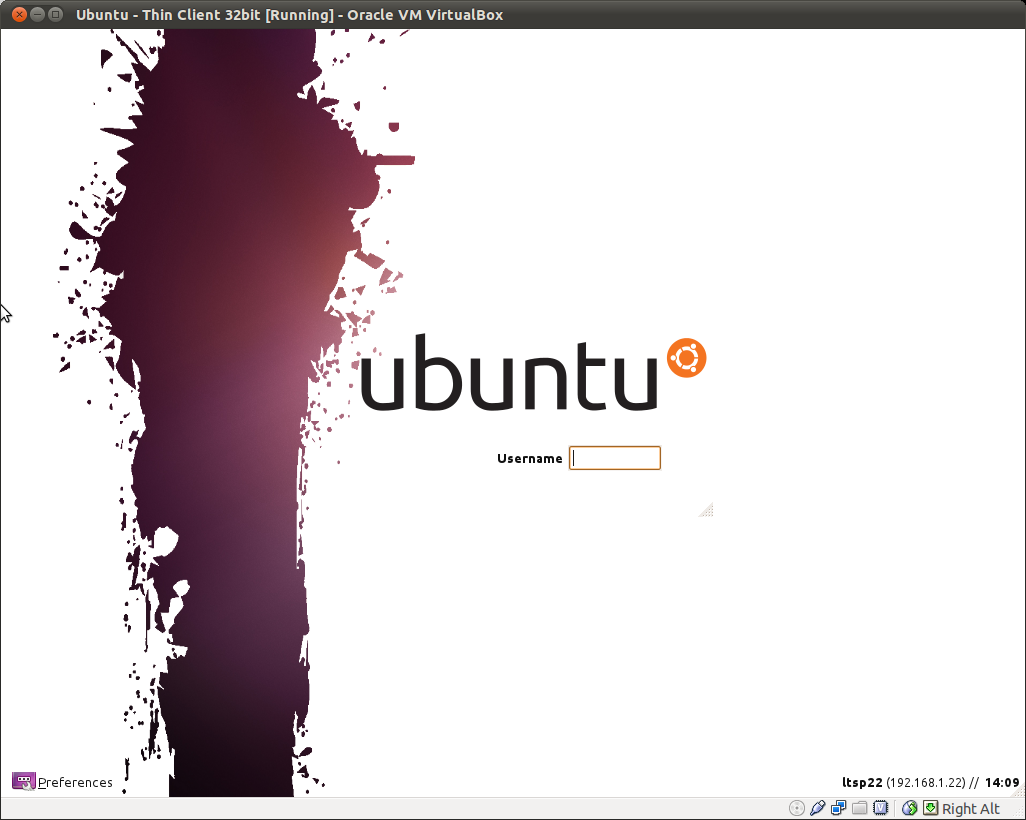
- If all is set up correctly you should see the following Ubuntu LDM login screen on your Thin Client.
- You will be able to login with your newly created Thin Client username and password.
11. How to configure, update and auto login Thin / Fat Clients


Comments
Hi, I'm trying to install and
Submitted by fabbaraujo (not verified) on
Make sure that the DHCP
Submitted by The Fan Club on
I set this up in VirtualBox.
Submitted by Benjibuntu (not verified) on
Thanks a bunch for sharing
Submitted by Jarrod (not verified) on
It's a pity you don't have a
Submitted by Mielno domki do... (not verified) on
Hi, after reading this
Submitted by Anonymous (not verified) on
i have installed ltsp server
Submitted by saransh (not verified) on
Ubuntu is starting with Unity
Submitted by The Fan Club on
Everything went fine except:
Submitted by carlos sousa (not verified) on
The Fan Club thank you very
Submitted by saransh (not verified) on
Some permission issue
Submitted by The Fan Club on
this kernel requires the
Submitted by peter (not verified) on
Hi everyone,
Submitted by Martin (not verified) on
Thank you so much for you
Submitted by Francisco Ismalej (not verified) on
Make sure your VirtualBox
Submitted by BrianH (not verified) on
Hi, i did everything like it
Submitted by Glenn (not verified) on
How can i change language?
Submitted by Mesut (not verified) on
Language Change
Submitted by The Fan Club on
worked great!
Submitted by Hikaru (not verified) on
black Screen!
Submitted by Bladerex (not verified) on