Submitted by The Fan Club on

If you looking for an alternative to public IM and VOIP services like Skype and want to create a private secure IM / VOIP network, this guide is for you.
This guide is intended as a relatively easy step by step guide to:
- Install and configure ignite realtime Openfire server.
- Install ignite realtime Spark IM client on Ubuntu. Also available for Windows and Mac OSX
Requirements:
- Ubuntu 12.04 or later installed machine to act as local IM server machine and one to act as IM client - the client computer can also be Windows or Mac OSX based as long as you install the relevant Spark client on these machines.
1. Install Java 6/7 JRE or JDK.
- On each computer you want to be part of your IM network require at least Java 6 JRE to be installed.
- Oracle / Sun Java 6 is no longer available in the Software Center as Oracle has changed the license to make it complicated to install and update on Ubuntu.
- More information about Java on Ubuntu available here.
- The easiest way I have found is to install Java on Ubuntu is via the Web Upd8 PPA .
- First add the PPA. Open a Terminal Window and enter :
sudo add-apt-repository ppa:webupd8team/java
sudo apt-get update- A good idea to minimise any Java conflicts is to remove OpenJDK. open a Terminal Window and enter :
sudo apt-get remove --purge openjdk*- Then to install Oracle Java 6 version open a Terminal Window and enter :
sudo apt-get install oracle-java6-installer- To install Oracle Java 7 version open a Terminal Window and enter :
sudo apt-get install oracle-java7-installer
- Tip: Top check the Java version installed on your system open a terminal and enter :
java -version2. Create new MySQL database for Openfire.
- You have several options for user authentication including LDAP, MtSQL or embeded DB.
- We will use the MySQL option and need to create a new database and user for Openfire to use.
- Log in to MySQL as root. Open the Terminal window and enter :
sudo mysql -u root -p
- Then enter the following to create the database and add user openfire. Replace openfirepasswrd with a new password :
mysql> CREATE DATABASE openfire CHARACTER SET='utf8';
mysql> CREATE USER 'openfire'@'localhost' IDENTIFIED BY 'openfirepasswrd';
mysql> GRANT ALL PRIVILEGES ON `openfire`.* TO 'openfire'@'localhost' WITH GRANT OPTION;
mysql> FLUSH PRIVILEGES;
mysql> quit
3. Install Openfire.
- The latest Debian version of Openfire can be downloaded from ignite realtime download page.
- Download Openfire 4.5.1 by opening a terminal window and enter :
cd /tmp
wget -O openfire_4.5.1_all.deb https://www.igniterealtime.org/downloadServlet?filename=openfire/openfire_4.5.1_all.deb
- Then install openfire. Open a Terminal window and enter :
sudo dpkg -i openfire_4.5.1_all.deb4. Open firewall ports for Openfire.
-
You need to open some ports on your firewall for Openfire to work.
- Port 9090 : for the web interface.
- Port 9091 : for SSL web interface.
- Port 5222 : the main port used for client/server communication by Openfire.
- Port 7777 : used for file transfer.
- Port 7443 : used for unsecured Http client connections.
- Port 7070 : used for secure Http client connections.
- Port 3478, 3479 : used by the STUN Servive for entities behind a NAT.
- Complete port list used by Openfire available here.
- If you are using ufw firewall open a terminal and enter:
sudo ufw allow 9090/tcp
sudo ufw allow 9091/tcp
sudo ufw allow 5222/tcp
sudo ufw allow 7777/tcp
sudo ufw allow 7443/tcp
sudo ufw allow 7070/tcp
sudo ufw allow 3478/tcp
sudo ufw allow 3479/tcp
5. Configure Openfire server with web admin console.
- The rest of the Openfire configuration will be done in the admin console.
- Replace mydomain below with your FQDN or IP address of your server.
- Open a browser and go to :
http://mydomain:9090/setup/index.jsp
- You will be presented with the Openfire setup wizard. Follow the instructions.
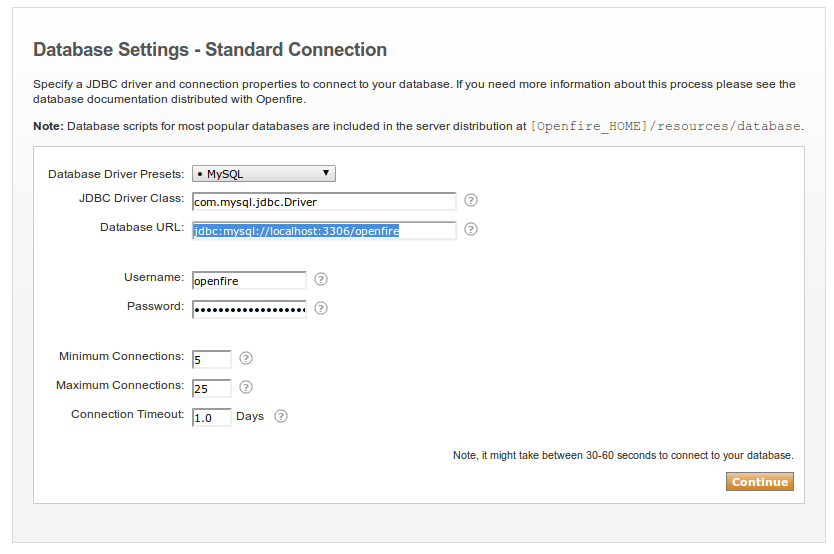
- When asked select Database Settings > Standard Connection
- Make sure you enter the MySQL database hostname and database name in the Database URL line below - this is easily missed .
- When done you can login to the admin console with your openfire admin username and password on :
http://mydomain:9090/index.jsp- You can also login securely with SSL encryption enabled on :
https://mydomain:9091/index.jsp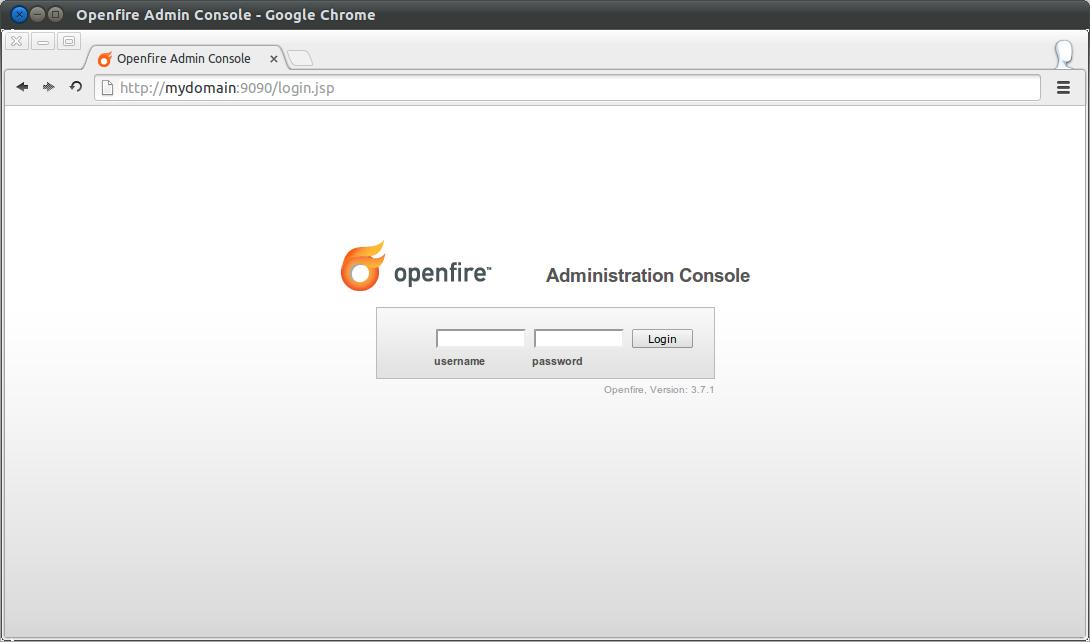
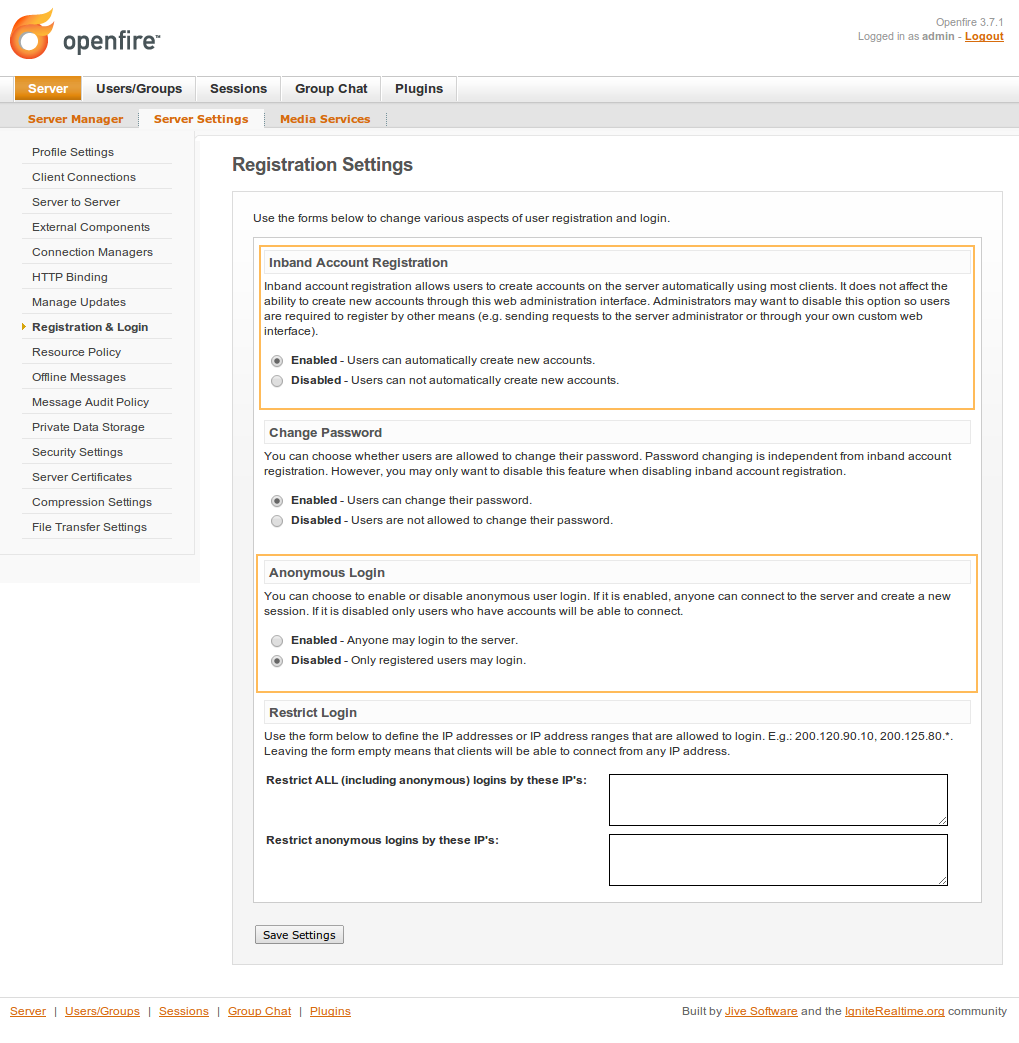
- Some very important settings to consider are found under Server > Server Settings > Registration Settings
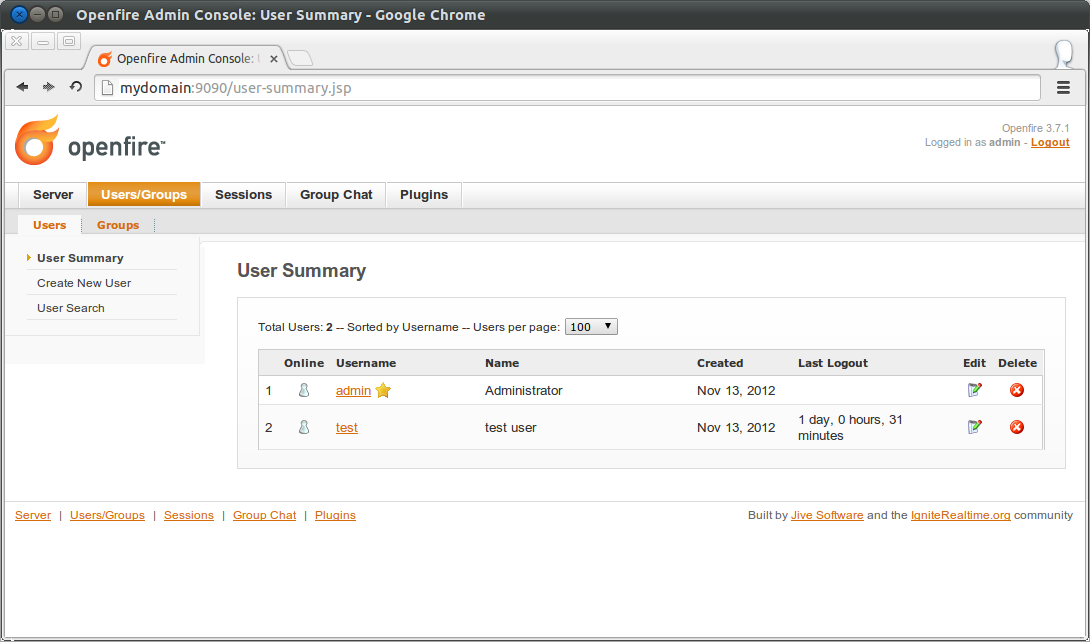
- Then go to the User/Groups menu and add IM users.
6. Download and Install Spark IM client.
- IM / VOIP client software needs to be installed on all machines that you would like to connect with the Openfire server.
- You can install any IM client that uses the XMPP/Jabber protocol for example the excellent Pidgin available for Ubuntu, Windows, and OSX. This is a good choice for Ubuntu users as it is available from the Ubuntu Software Center and easy to install. One tip with installing Pidgin on Windows and OSX - Make sure that you select xmpp under the URI Handlers options in the installer. This option is disabled by default for some reason.
- Jitsi as Video, Voice and Chat client for use with an Openfire server is another choice and available for Ubuntu, Windows and Mac OSX.
- If you are looking for a iPhone / iPad app to use as client with an Openfire server - Monal or ChatSecure or are just perfect. they are free, have no ads and work well.
- The native cross plaform client for Openfire is Spark, with client software for Linux, Windows and Mac machines.
- To install Spark on Ubuntu download the latest Linux version from the website, or open a terminal and enter:
cd /tmp
wget -O spark_2.8.3.tar.gz https://www.igniterealtime.org/downloadServlet?filename=spark/spark_2_8_3.deb
tar -xvf spark_2.8.3.tar.gz
sudo mkdir /opt/spark
sudo mv Spark/* /opt/spark/
- You can run spark from the command line with :
/bin/bash /opt/spark/Spark- Or if you want to create a Ubuntu Unity Desktop Launcher, create a desktop launcher file with :
sudo gedit /usr/share/applications/spark.desktop- Then add the following information and save :
![]()
[Desktop Entry]
Name=Spark
Version=2.8.3
GenericName=Spark
X-GNOME-FullName=Spark
Comment=ignite realtime Spark IM client
Type=Application
Categories=Application;Utility;
Path=/opt/spark
Exec=/bin/bash Spark
Terminal=false
StartupNotify=true
Icon=/opt/spark/logo-spark.png
TargetEnvironment=Unity- To add a logo to your Desktop launcher, open a terminal and enter:
cd /tmp
wget http://www.thefanclub.co.za/sites/default/files/images/howto/logo-spark_256x256.png
sudo mv logo-spark_256x256.png /opt/spark/logo-spark.png- You will then be able to search for Spark in you unity dash and launch Spark.
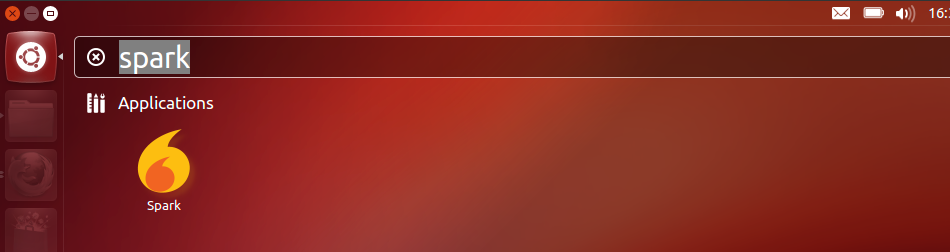
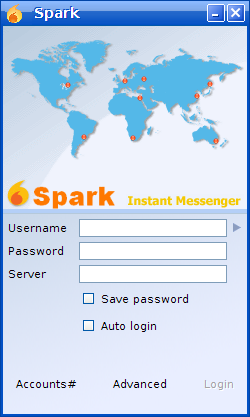
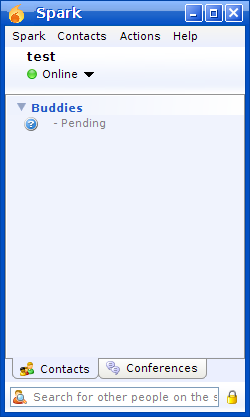
- Finally log in with a valid Spark user and enter the server details.


Comments
i cant get through the
Submitted by someone (not verified) on
Have a look at step 5, the
Submitted by The Fan Club on
"You need to point the
Submitted by dave (not verified) on
Just continue with the
Submitted by The Fan Club on
How to get voice working? IM
Submitted by Ben (not verified) on
It does work but only if both
Submitted by The Fan Club on
I see. I have it working
Submitted by Ben (not verified) on
After I install 3.8.1, I am
Submitted by Rashid (not verified) on
I am trying to install on
Submitted by random (not verified) on
Try - sudo /bin/bash /opt
Submitted by The Fan Club on
Did anyone get the Jingle
Submitted by Keke (not verified) on
Try telneting the mysql port
Submitted by Anza (not verified) on
It appears that these people
Submitted by Stuart (not verified) on
Hi Stuart - Thank you for the
Submitted by The Fan Club on